
Personalized Introduction
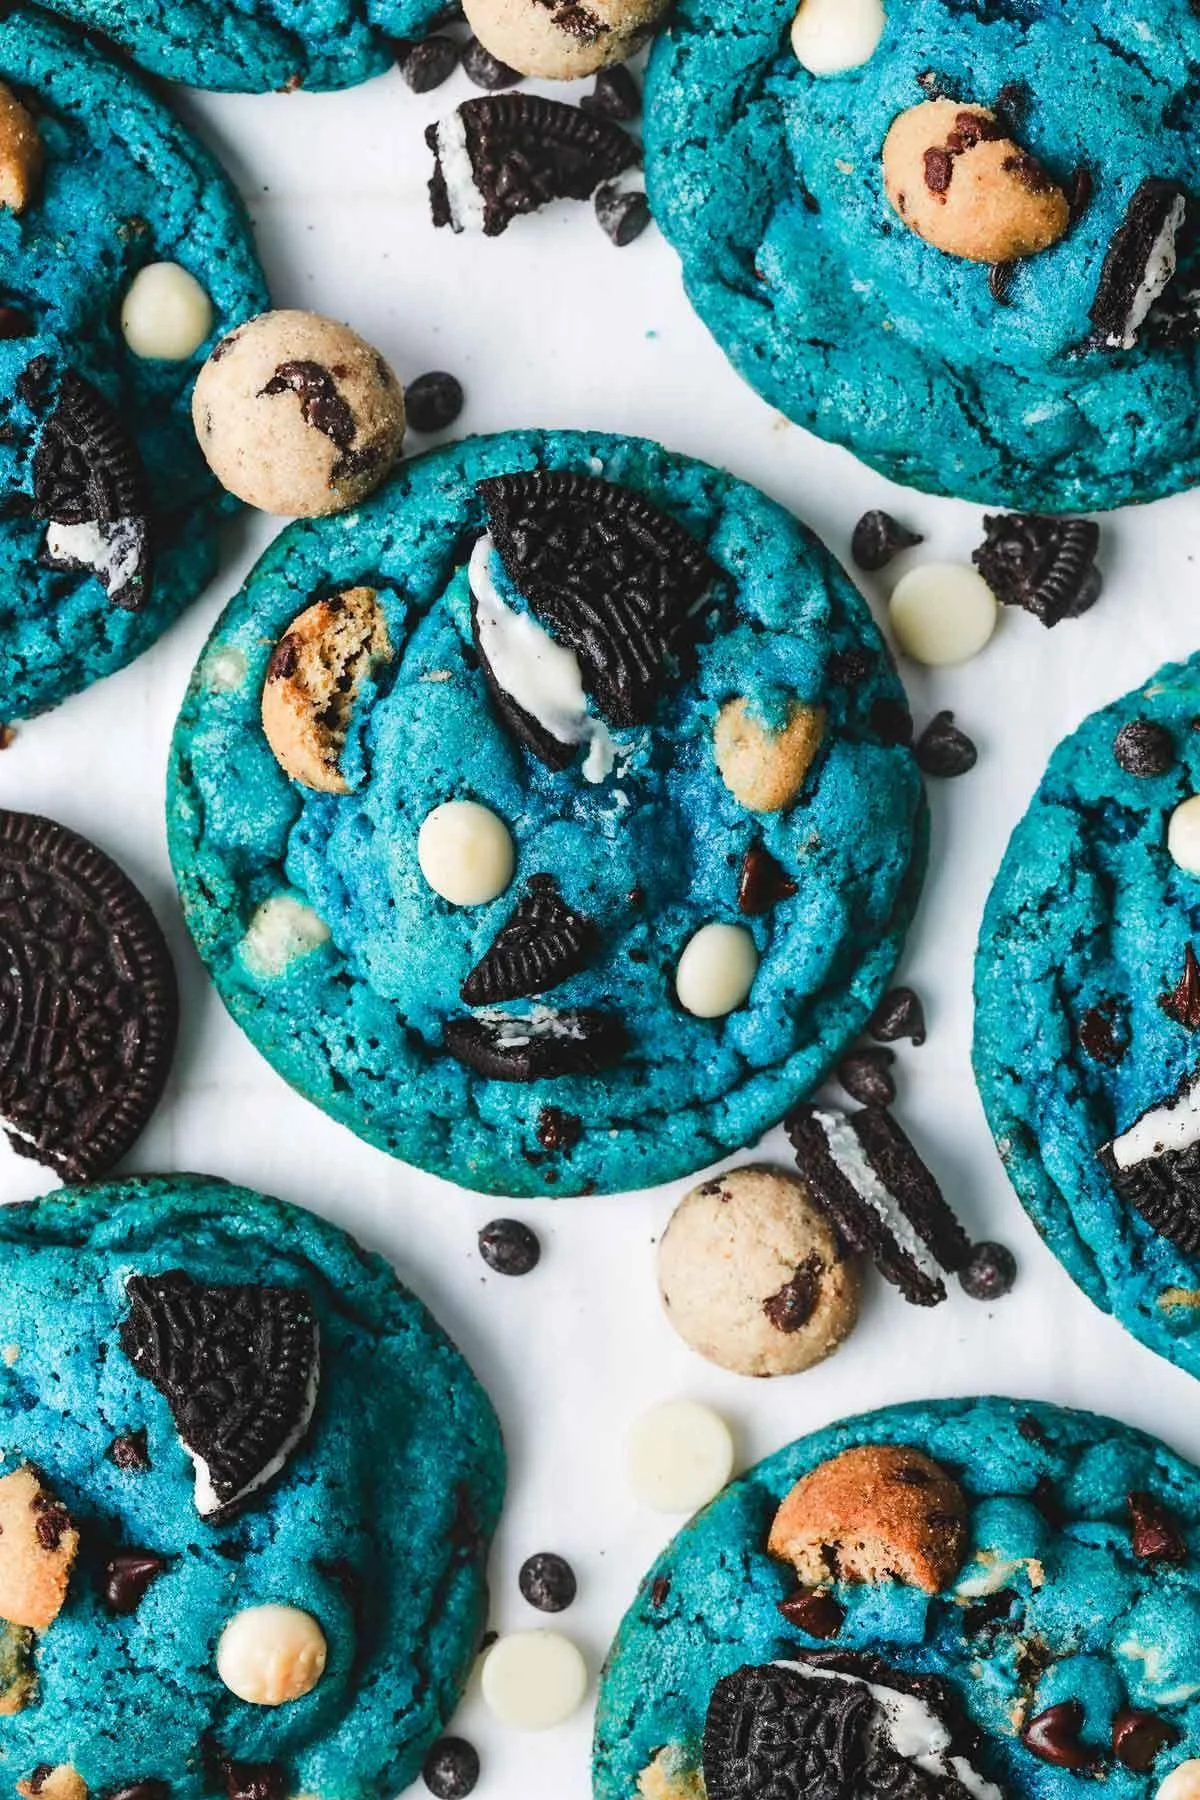
If there’s one cookie that never fails to make people smile, it’s Cookie Monster Cookies. They’re bright blue, wonderfully soft in the center, packed with chocolate chips, Oreo cookie chunks, and sometimes even mini chocolate chip cookies baked right inside. Every time I make a batch, someone asks, “What are those?” and before long, the entire tray is empty.
I love baking recipes that feel fun and a little nostalgic, and these cookies capture that feeling perfectly. They remind me of childhood afternoons spent watching cartoons, sneaking cookies from the cookie jar, and enjoying treats that were just as playful as they were delicious. Even though these cookies look impressive, they’re surprisingly easy to make with simple pantry ingredients.
The first time I baked Cookie Monster Cookies was for a birthday party. I wanted something colorful that would stand out on the dessert table. I added a few drops of blue food coloring to my favorite chocolate chip cookie dough, mixed in crushed Oreos, folded in chocolate chips, and topped each cookie with a mini chocolate chip cookie before baking. They instantly became the highlight of the party.
Since then, they’ve become one of my favorite cookies for birthdays, bake sales, baby showers, holidays, movie nights, and whenever I simply want to bake something that makes people happy. They’re thick, chewy around the edges, soft in the middle, and loaded with delicious surprises in every bite.
If you’re looking for a cookie recipe that’s both eye-catching and incredibly delicious, you’re going to love these Cookie Monster Cookies. Let’s bake a batch together!
Recipe Origin & Story
Cookie Monster Cookies are a modern dessert inspired by the beloved blue character from Sesame Street, famous for his endless love of cookies. While the character has entertained children for generations, creative bakers began turning that playful inspiration into colorful desserts featuring bright blue cookie dough packed with everyone’s favorite cookie ingredients.
Unlike traditional chocolate chip cookies, Cookie Monster Cookies celebrate abundance. Instead of choosing between chocolate chips, sandwich cookies, or mini cookies, they include all of them. The vibrant blue color instantly makes them recognizable, while the combination of textures creates an unforgettable dessert.
Over the past few years, these cookies have become especially popular at birthday parties, bakeries, cafés, and social media dessert pages because they’re just as fun to photograph as they are to eat.
In my own kitchen, they’re one of those recipes everyone gets excited about before they’ve even finished baking. The aroma of butter, vanilla, and warm chocolate fills the house, and it’s almost impossible to wait until they cool before grabbing one straight from the baking sheet.
The best part is seeing everyone’s reaction when they break a cookie in half and discover all the melty chocolate chips and Oreo pieces hiding inside. It’s impossible not to smile.
Ingredient Spotlight
- Main Star: The cookie dough is the heart of this recipe. Made with butter, brown sugar, and vanilla, it creates a rich, chewy cookie that’s soft in the center while staying lightly crisp around the edges.
- Secret Boost: Blue gel food coloring gives these cookies their iconic Cookie Monster appearance without changing the flavor. Using gel coloring instead of liquid creates a vibrant blue color without making the dough too wet.
- Quality Tips: Use real butter, pure vanilla extract, high-quality chocolate chips, and fresh Oreo cookies for the best flavor. Chilling the dough before baking also helps produce thicker bakery-style cookies.
Nutritional Benefits
Let’s be honest—these cookies are all about fun and indulgence. While they’re definitely a sweet treat, baking them at home gives you complete control over the ingredients and portion sizes.
Using real butter instead of shortening creates richer flavor, while quality chocolate contains small amounts of antioxidants. If you’d like, you can even substitute part of the all-purpose flour with whole wheat pastry flour to add a little extra fiber without dramatically changing the texture.
Most importantly, baking together is a wonderful activity that brings family and friends into the kitchen. Sometimes the memories made while baking are just as meaningful as the cookies themselves.
Adaptable Variations
- Dietary Swaps: Use a gluten-free flour blend and gluten-free sandwich cookies for a gluten-free version. Dairy-free butter and dairy-free chocolate chips make these cookies suitable for dairy-free diets.
- Flavor Twists: Add white chocolate chips, peanut butter chips, mini marshmallows, chopped candy bars, sprinkles, or crushed pretzels for extra texture and flavor.
- Seasonal Spins: Decorate with holiday-colored sprinkles for Christmas, pastel candies for Easter, orange and black sprinkles for Halloween, or red, white, and blue candies for Independence Day celebrations.
Cooking Science Explained
Brown sugar contains more moisture than white sugar, which helps create soft, chewy cookies that stay fresh longer. Combining both sugars provides the perfect balance of chewy centers and lightly crisp edges.
Chilling the cookie dough for at least 30 minutes solidifies the butter, preventing the cookies from spreading too much during baking. That’s one of the secrets behind thick bakery-style cookies.
Underbaking the cookies slightly is another important trick. They continue cooking on the hot baking sheet after coming out of the oven, leaving the centers perfectly soft and gooey instead of dry.
Easy, Step-by-Step Recipe
Ingredients
- 2½ cups all-purpose flour
- 1 teaspoon baking soda
- ½ teaspoon baking powder
- ½ teaspoon salt
- 1 cup unsalted butter, softened
- ¾ cup brown sugar
- ½ cup granulated sugar
- 2 large eggs
- 2 teaspoons vanilla extract
- Blue gel food coloring
- 1 cup semi-sweet chocolate chips
- 1 cup white chocolate chips
- 10 Oreo cookies, roughly chopped
- 8 mini chocolate chip cookies (optional for topping)
Instructions
- Preheat your oven to 350°F (175°C) and line two baking sheets with parchment paper.
- Whisk together the flour, baking soda, baking powder, and salt in a medium bowl.
- In a large mixing bowl, beat the softened butter, brown sugar, and granulated sugar until light and fluffy.
- Add the eggs one at a time, mixing well after each addition. Stir in the vanilla extract.
- Add blue gel food coloring until you achieve a bright Cookie Monster blue.
- Gradually mix the dry ingredients into the wet ingredients until just combined.
- Fold in the chocolate chips and chopped Oreo cookies using a spatula.
- Cover the dough and chill for at least 30 minutes.
- Scoop large portions of dough onto the prepared baking sheets, spacing them about 2 inches apart.
- Press a mini chocolate chip cookie gently into the top of each dough ball if using.
- Bake for 11–13 minutes until the edges are lightly golden while the centers remain soft.
- Allow the cookies to cool on the baking sheet for 5 minutes before transferring them to a wire rack.
Practical & Valuable Tips
- Storage: Store cookies in an airtight container at room temperature for up to 5 days. Add a slice of bread to the container to help keep them soft.
- Serving Ideas: Serve warm with cold milk, hot chocolate, vanilla ice cream, or alongside a dessert platter filled with brownies and cupcakes.
- Substitutions: Swap Oreos for chocolate sandwich cookies of your choice, or replace white chocolate chips with milk chocolate or peanut butter chips.
Make-Ahead & Batch-Cooking
Cookie dough freezes beautifully, making this recipe perfect for planning ahead. Scoop the dough into balls, freeze them on a baking sheet until solid, then transfer them to a freezer-safe bag. Whenever a cookie craving strikes, simply bake the frozen dough, adding one or two extra minutes to the baking time.
You can also prepare the dough one or two days in advance and keep it refrigerated. Many bakers actually prefer overnight chilling because it allows the flavors to deepen while producing thicker cookies.
If you’re baking for parties or holidays, consider making a double batch. These cookies disappear quickly, and having extra dough in the freezer means you’re always prepared for unexpected guests or late-night dessert cravings.
Eco-Friendly Kitchen Hacks
- Reuse parchment paper for multiple batches whenever it’s still clean.
- Measure all ingredients before starting to reduce food waste and improve efficiency.
- Store leftover cookies in reusable airtight containers instead of disposable bags.
- Bake multiple trays at once while the oven is already hot to save energy.
Pairing Suggestions
- Beverages: Cold milk, hot chocolate, coffee, vanilla milkshakes, chocolate milk, or iced lattes pair wonderfully with these rich cookies.
- Desserts: Vanilla ice cream, brownies, cheesecake bites, chocolate pudding, whipped cream, or fresh strawberries create an unforgettable dessert spread.
Frequently Asked Questions
-
Why are my cookies spreading too much?
The dough may have been too warm. Chilling the dough before baking helps the cookies stay thick and soft. -
Can I make these cookies without food coloring?
Absolutely! They’ll taste exactly the same, but they’ll simply look like classic loaded chocolate chip cookies instead of Cookie Monster Cookies. -
Can I freeze baked cookies?
Yes! Store them in freezer-safe containers for up to three months. Let them thaw at room temperature before serving. -
How do I keep the cookies soft?
Store them in an airtight container with a slice of bread. The bread helps maintain moisture, keeping the cookies soft for several days.
Call to Action
These Cookie Monster Cookies are more than just a colorful dessert—they’re guaranteed to bring smiles wherever they’re served. With their soft centers, chewy edges, melty chocolate chips, crunchy Oreo pieces, and playful blue color, they’re a fun treat that’s perfect for birthdays, holidays, bake sales, or simply satisfying your sweet tooth.
I hope you give this recipe a try and enjoy baking them as much as I do. If you make a batch, I’d love to hear how they turned out! Leave a comment below with your favorite mix-ins, share your baking tips, and don’t forget to save this recipe for your next dessert adventure. If you post your cookies on social media, tag us—we can’t wait to see your colorful creations!
Bonus: Your Kitchen Notes
Every baker has their own special touch, and these Cookie Monster Cookies are the perfect recipe to personalize. Maybe you added extra Oreos, swapped white chocolate chips for peanut butter chips, mixed in colorful sprinkles, or created giant bakery-style cookies. Write down your favorite changes here so you can recreate your perfect batch every time.
You can also keep notes about baking times, cookie sizes, or special occasions when you served them. Before long, this recipe may become one of those treasured family favorites that’s requested for birthdays, celebrations, and cozy weekends year after year. Happy baking!